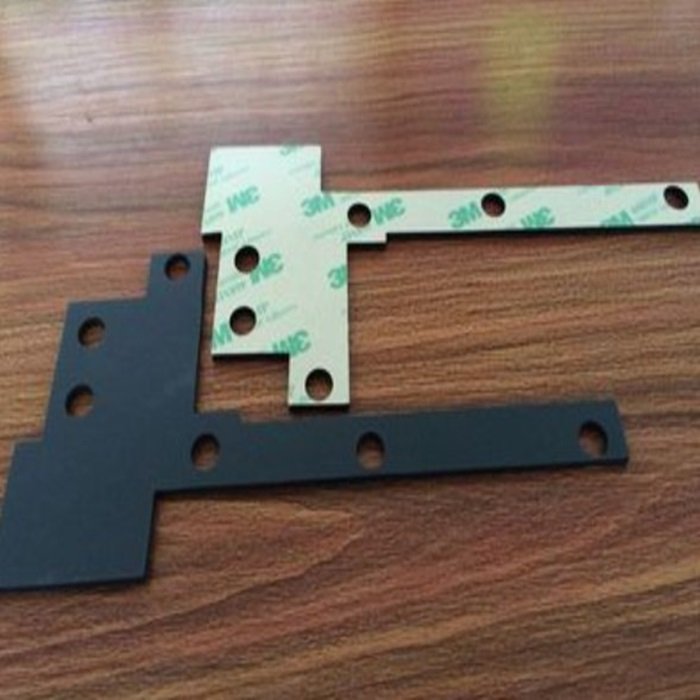
3M Adhesive Application: Tips and Techniques for a Perfect Bond
3M Adhesive Application: Tips and Techniques for a Perfect Bond
3M stands out as a leader in the industry, offering a wide range of products designed for just about every material and application. But knowing how to use these adhesives effectively is key to achieving a strong, long-lasting bond. Whether you’re working on a DIY project at home, tackling automotive repairs, or managing an industrial task, mastering the application of 3M adhesives can save you time and frustration. In this guide, we’ll walk you through everything you need to know to get the best results.
Why Choose 3M Adhesives?
Before diving into the application process, let’s quickly touch on why 3M adhesives are a go-to choice for professionals and hobbyists alike. Here’s why:
- Versatility: 3M offers adhesives for nearly every application—ranging from general-purpose bonding to highly specialized needs.
- Reliability: 3M products are known for their durability and ability to create strong, lasting bonds.
- Innovation: With a strong focus on research and development, 3M continuously improves its adhesive formulas to meet the ever-changing demands of various industries.
Key Steps for Successful 3M Adhesive Application
1. Surface Preparation is Crucial
One of the most common reasons adhesive bonds fail is poor surface preparation. Here’s how to get it right:
- Clean the Surface: Dirt, oils, and residues can significantly affect the adhesive’s ability to bond. Use a suitable cleaner like isopropyl alcohol (IPA) to thoroughly clean the surfaces you’re bonding.
- Dry Completely: Make sure the surfaces are completely dry before applying the adhesive. Any moisture can weaken the bond.
- Roughen Up Smooth Surfaces: If you’re working with very smooth materials (like metals or plastics), lightly sanding the surface can help the adhesive grip better.
2. Choosing the Right 3M Adhesive
3M offers a wide range of adhesives, and selecting the right one for your specific application is vital. Consider the following:
- Material Compatibility: Ensure the adhesive is compatible with the materials you’re bonding (e.g., plastic, metal, wood).
- Environmental Factors: Some adhesives are better suited for high-temperature environments or exposure to moisture.
- Bond Strength: Determine how much strength is needed for your project. For instance, 3M VHB tapes are perfect for high-strength, long-term bonding.
3. Applying the Adhesive
The application process can vary slightly depending on the type of 3M adhesive you’re using, but here are some general tips:
- Follow Manufacturer’s Instructions: Always start by reading the product’s instructions. 3M provides specific guidelines for each adhesive.
- Apply Evenly: Spread the adhesive evenly across the surface to avoid weak spots. For tapes, ensure you press firmly and evenly.
- Consider Cure Time: Some adhesives need time to set before they reach their full strength. Be sure to allow adequate curing time as specified by the product.
4. Applying Pressure
Once the adhesive is applied, pressure plays a crucial role in establishing a strong bond:
- Use a Roller or Clamp: For large surfaces, a roller can help apply even pressure. For smaller areas, clamps can be useful to keep parts tightly bonded while the adhesive sets.
- Be Mindful of Bond Time: Some 3M adhesives bond almost instantly, while others need pressure for a certain duration. Check the specific requirements for your adhesive.
Troubleshooting Common Adhesive Application Issues
Even with the best practices, issues can arise. Here’s how to tackle common problems:
- Adhesive Won’t Stick: If your adhesive isn’t bonding, it could be due to surface contamination, inadequate pressure, or the wrong adhesive for the material. Recheck each of these factors.
- Bond Failure Over Time: This could be caused by environmental conditions like excessive heat, moisture, or UV exposure. Make sure the adhesive used is suitable for the environment.
- Adhesive Seepage: If adhesive seeps out from the bond line, you may be applying too much. Try reducing the amount on your next application.
Best 3M Adhesives for Common Applications
Here’s a quick look at some popular 3M adhesives and their ideal uses:
- 3M VHB Tape: Perfect for high-strength bonding in construction, automotive, and electronics.
- 3M Super 77 Spray Adhesive: Great for lightweight materials like fabric, paper, and cardboard.
- 3M Scotch-Weld Epoxy Adhesive: Ideal for metal bonding and high-stress applications.
- 3M 847 Nitrile High-Performance Rubber and Gasket Adhesive: Perfect for bonding rubber and creating gaskets in automotive and industrial applications.
FAQs about 3M Adhesive Application
Q: Can I remove 3M adhesive once applied?
A: Yes, but it depends on the adhesive. Some can be removed with solvents like acetone, while others may require mechanical methods like scraping or sanding.
Q: How long does 3M adhesive take to cure?
A: Cure times vary widely depending on the adhesive type. Some cure in minutes, while others may take 24-48 hours.
Q: Can 3M adhesives be used outdoors?
A: Many 3M adhesives are designed for outdoor use and can withstand environmental factors like UV light, moisture, and temperature fluctuations. Always check the product specs to ensure it’s suitable for your application.
Wrapping It Up
Mastering the application of 3M adhesives is a valuable skill that can enhance the quality and durability of your projects. By following the best practices outlined in this guide—like thorough surface preparation, selecting the right adhesive, and applying the right amount of pressure—you’ll achieve a perfect bond every time. Whether you’re working on a DIY home project or tackling an industrial task, understanding these techniques will ensure your work stands the test of time.